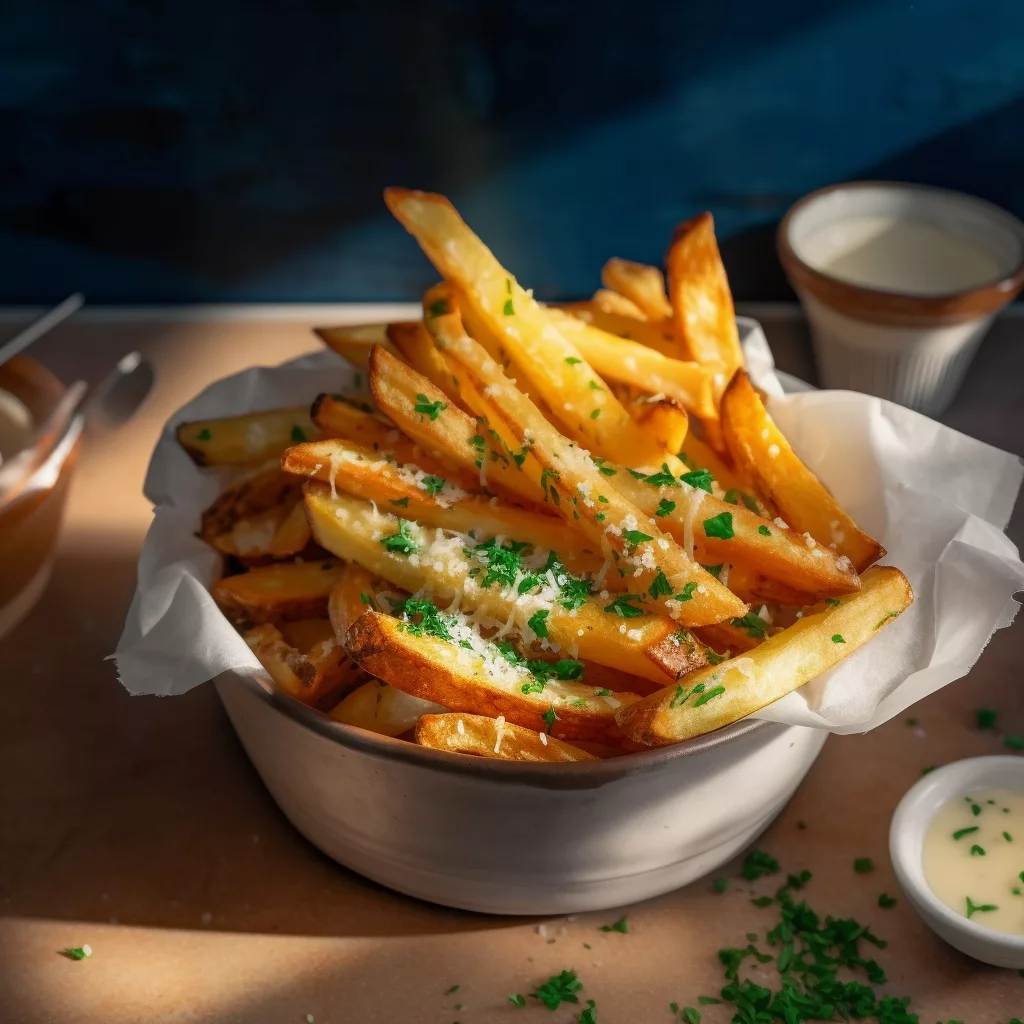

Crunchy, Salty, Delicious Fries.
I will be the first to admit that I was skeptical of the Air Fryer’s capacity to make crunchy, salty, delicious fries. I figured there was no way to recreate all that favor without a vat of oil, fry baskets, and a good dose of artery-clogging.
Our first batches of Air Fryer fries were, shall we say, uninspired. Tiny limp shoe laces that we chew and chewed as we got to the raw potato in the middle. At the time, we didn’t think there was more to recreating fries than slicing the potatoes and salting them- how wrong we were! Eventually Luke did some research and with just a few adjustments (better seasoning was a GAME CHANGER) we were quickly able to elevate our french fry game! We wanted to share our tips with you so you don’t have to sit through batches of unsatisfying starchy experiments (I think we did enough of that on behalf of everybody.) Plus the cleanup isn’t too bad! Read on for a few ways to make your Air Fryer fries as good as the real thing!

Air Fryer Fries Ingredients
- 1 Bag Russet Potatoes
- Neutral or Vegetable oil
- Pinch of salt
- Fry sauce
- Cheese (if you are feeling fancy, we like queso fresco, but any mild shredded cheese will do!)
- Chopped Parsley(optional)

Step 1: Selecting the Perfect Potatoes
The right potato makes a difference and luckily for us, the cheapest potato (the beloved russet) does well here!! You can also use Yukon Gold, but if you find yourself on a budget (or just cheap bastards like us) a 10-pound bag of russets is the way to go.
Luke says these types of potatoes have a good balance of starch and moisture which I believe, science jargon aside, means they are capable of getting crispy, especially when thin-sliced, and the middle can get fluffy which is also very important. Nothing is worse than a mouthful of raw potato when you are looking for light and crunchy goodness (just take our word for it.)

Step 2: Prepare Your Air Fryer Fries
Luke washes the potatoes first (I should do the same as cleanliness is important and all, but I never have the patience. So I skip this step but don’t be like me unless you don’t mind a more earthy flavor to your fries…and I suppose there are health risks as well, so just wash your taters, folks, and pay no mind to my bad habits.)
You don’t have to peel your potatoes which is great and fits into my life style of doing things in the kitchen as quickly as possible!

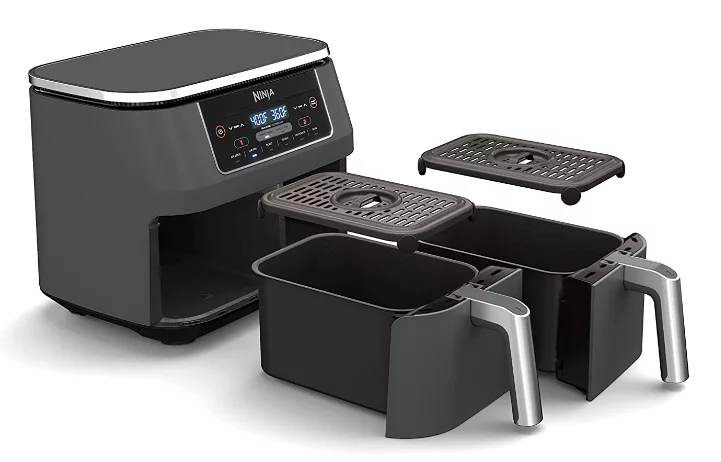
Luke loves his kitchen gadgets so we have sacrificed precious counter space for this vegetable chopper (pictured above.) At first, I thought, men and their toys and did a mental eye roll, but this one is well worth the square foot of space it takes up. Super easy and fun to use and definitely shortens the process.
If you find yourself without a commercial chopper as most normal people do, don’t worry, we get it. Just make 1/2-inch slices and try to cut them as evenly as you can.
Once chopped, place the fries in a large bowl and cover them with water. This is an important step!! For all the kitchen-challenged people out there like me, this may seem superfluous but it isn’t! Soaking the fries in the fridge removes excess starch, which helps achieve a crispier texture. The crisp is what it is all about so make sure you allow the fries to soak for at least 30 minutes but pro tip: you can leave the fries soaking in the fridge for up to a week and use them as needed during your meals.

Step 3: Cooking Your Air Fryer Fries
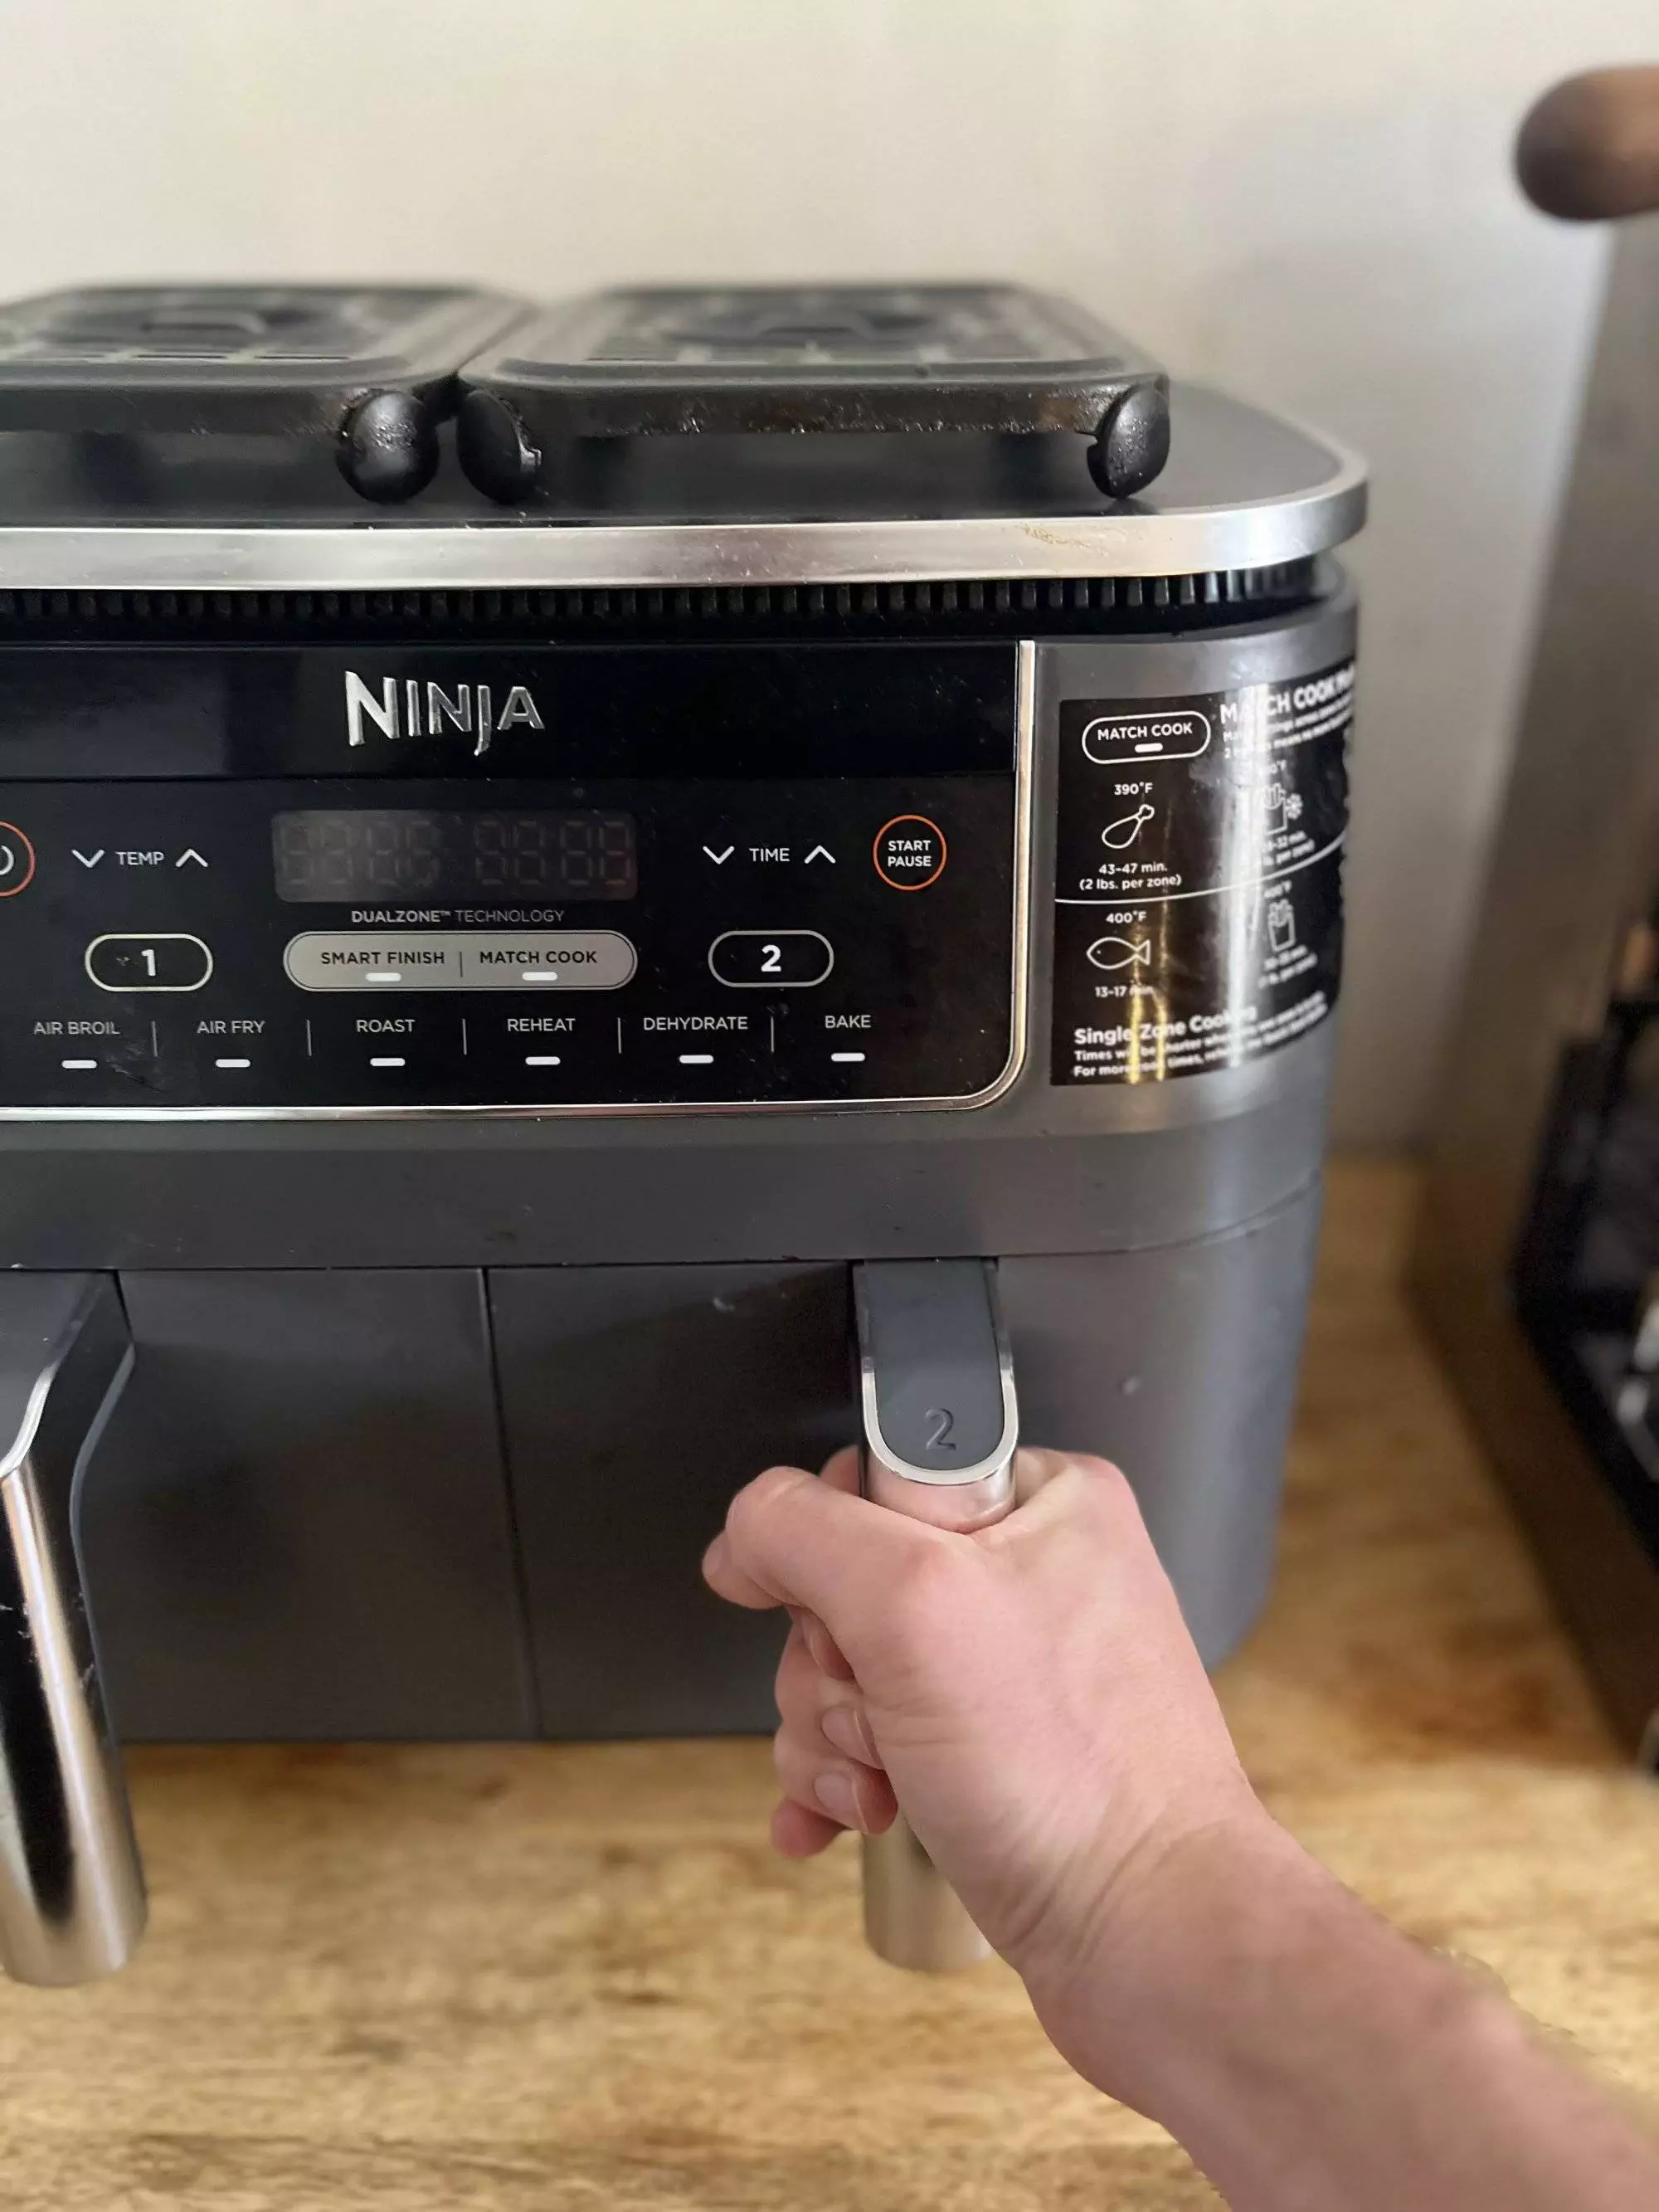
Once your fries have had their cleansing bath and spa treatment, they are ready to be sacrificed for the greater good. We have found 12 x 1/2-inch fries make about half a meal’s worth, so for two people, you’ll want to prepare 24 fries, roughly one air fryer basket’s worth.

Use a salad spinner (another Luke kitchen gadget) to remove excess moisture from the fries. If you (unsurprisingly) find yourself without a salad spinner, a towel will do the trick. You are just trying to get rid of any excess moisture still clinging to the potatoes.

Now, for the fun part! Dump those babies in the air fryer basket, and give them three good flicks of neutral oil (such as vegetable oil or canola oil) using an oil spout (yet another Luke kitchen gadget). For us normal people, I take the cap of the oil container and use that to toss or jiggle the fries in the basket until they are evenly coated in oil. All roads lead to Rome here, just get enough oil on the fries because, without it, things do NOT go well (I speak from personal experience.)

Set your air fryer to cook for 20 minutes. For the crispiest results, make sure each fry has a bit of room in the basket (we recommend cooking about 12 fries per basket). Pro-tip for those who have mastery of the Air Fryer is to use this cooking time to clean/prep your main dish for this meal.
Step 4: Seasoning and Serving Air Fryer Fries
Once your fries have finished cooking, remove the air fryer basket and add a pinch of salt to taste. Toss or jiggle the basket to ensure the fries are coated evenly. Honestly, I know the amount of straight-up “jiggling” of the basket we seem to do, might feel weird but it is necessary! You should take advantage of the high walls of the basket to thoroughly coat things without making a mess.
Next, is the best part and where you can do a few simple things to make your simple fries fancy AF. Transfer your Air Fryer Fries to a plate, and serve them alongside two or three of your favorite dipping sauces. We recently discovered the bottled Chick-fil-A sauce sold at the grocery store and lemme tell you- GAME OVER! Other popular choices include BBQ sauce, mustard, and ketchup, but feel free to get creative with your sauce selection.
Recently we had a small family gathering and we got a lot of “oohs” and “ahs” with our fries once we added chopped parsley and sprinkled crumbled queso fresco over the pile and drizzled sauce on everything to finish. We let everyone marvel at our creation before revealing our special sauce was just Chick-fil-A sauce.
Don’t forget! Salt is your best friend! Sprinkle on when fries are fresh and hot. Sorry to all my high BP people and sodium watchers over there, we still send our love to you! You can check out other seasoning combinations in our spices and seasonings guide.)

Lastly, dig in! I am always surprised at all quickly they go but air fryer fries are here for a good time, not for a long time. Eat ’em while they are fresh as they don’t hold well and feel slightly better about them because they weren’t fried in oil.
We can’t imagine a more beautiful thing. Be sure to share this Air Fryer Fries Recipe with your friends!
Step 5: Quick and Easy Cleanup
In an effort to reduce kitchen time as much as possible, while the air fryer basket is still hot, clean it using our “no wet hands” method, which only takes 30 seconds. I freakin’ hate doing dishes (doesn’t everyone?) so this method is much preferred to scrubbing caked-on potato bits at the end of the night. Follow the steps outlined in our previous blog post on air fryer cleaning techniques, and you’ll have a spotless basket in no time.
To start, while the basket is still hot, give one squirt of soap into the dirty basket.

Next, fill the basket with a small amount of water.

Then, swirl/jiggle/slosh the water in the basket until it foams.

After that, pour out the soap foam and briefly rinse the basket in the basket.

Finally, insert the basket back into the air fryer. No need to dry the basket with a towel – residual heat in the air fryer will do the trick!