
Crispy, Gooey, Delightful.
You’re tired and hungry. You want pizza and you want it now. I’m here to tell you that by following these pro pizza tips, you’ll be saying hello to some perfectly crispy and gooey slices in no time!
It’s simple, you’ll just need to grab the right za, cut it up, cook, flip, cook, sauce, and serve. (NOTE: Amy here, Luke is writing this article but we disagree about the “flip” part of this recipe so I will pipe up in that section to express my disapproval of his wanton ways…okay, back to Luke!)
Both your wallet and your stomach will be thanking you. Your frozen pizza perfection is only 10 minutes away (including cleanup)! The trusty Air Fryer is here to save your day.

Step 1: Selecting the Best Frozen Pizzas
First things first, you’ll need a frozen pizza. Pro Tip: Depending on where you shop, fresh & ready to bake pizzas at grocery stores (pictured above) can be half the cost and IMO are usually better than the frozen aisle offerings. It is just one step closer to fresher ingredients, and one step further than flash-frozen pizzas that sit in the freezer aisle for an undetermined amount of time. If you can find a grocery store that offers this ready-to-bake option, it is definitely worth a try (and as we said, just as cost-efficient, which we are ALL about over here!)
Step 2: Prepping Your Pizza
We recommend cutting your pizza into eight equal slices before cooking. This will also allow you to cook two to four slices at a time, perfect for a quick snack or meal for one or two. Leave it in the plastic so they don’t get freezer burn and take slices out as you need em.

Step 3: Air Frying Your Pizza: The Perfect Technique
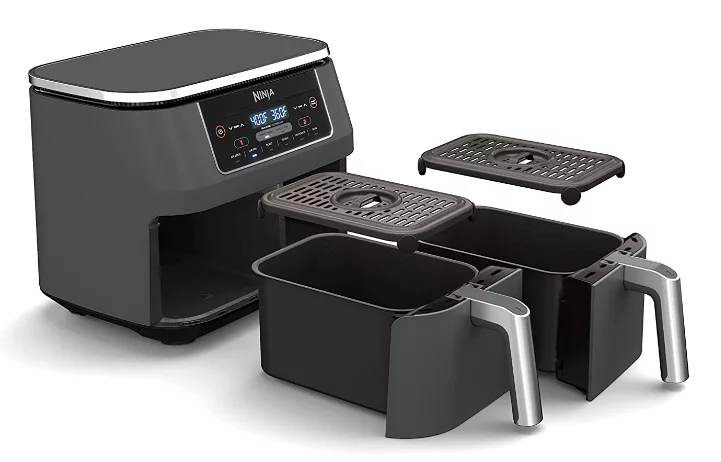
The key to getting a crispy crust and gooey cheese when cooking frozen pizza in an air fryer is to use a two-step process: first, cook the pizza with the crust side down, and then flip it and cook with the crust side up. If you’re making a meal for two, simply use both air fryer baskets to cook four slices instead of two.
(NOTE: Hi, I’m backkkkk. I am Amy and I stand up against people flipping their pizzas toppings side down. Some people who live in this household think that crispy crust is the most important thing, to which I say, NO! Down with the patriarchy!! Put just your pizza face up like a normal person and once sliced, cook for 11 minutes. Don’t listen to their misguided ways, they know not what they do! If you like less clean up and don’t mind a paler crust, join us at Team No Flip! Ahh, Luke is coming back so, just remember us over here when you are fighting the good pizza fight. No flip, no problem!!)
Here’s a step-by-step guide on how to air-fry your frozen pizza slices:

Step 4. Cook crust side down:
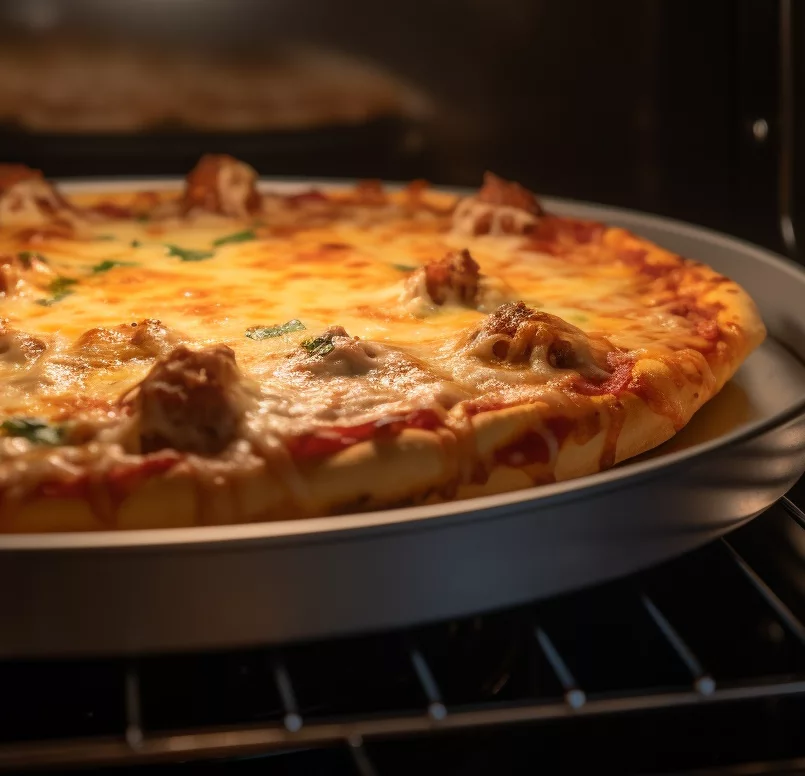
Place two pizza slices in the air fryer basket, making sure they are not overlapping. Cook them with the crust side down for 5 minutes. This will help the crust become crispy and firm, giving you the perfect foundation for your pizza.

Step 5. Flip and cook crust side up:
After 5 minutes, use a pair of tongs or a spatula to carefully flip the pizza slices, so they are now crust side up. Cook for an additional 3 minutes. This will allow the toppings and cheese to cook through and become perfectly gooey.

Step 6. Check for doneness:
After the 3 minutes are up, carefully remove one slice from the air fryer and check for doneness. The crust should be crispy and golden brown, while the cheese should be melted and bubbly. If necessary, cook for an additional 1-5 minutes, keeping a close eye on the pizza to prevent overcooking.
Step 7: Dig in!
When the cooking time is up, give the basket a good shake to loosen the pizza then transfer the sizzling hot pizza slices onto a serving plate. Allow the pizza to cool slightly before enjoying it, as the cheese and toppings can be very hot.
If you’re still hungry, continue cooking the remaining pizza slices in batches, following the same process of cooking crust side down for 5 minutes, then flipping and cooking crust side up for 3-6 minutes.
As you savor your perfectly air-fried pizza, take note of the crispy crust, gooey cheese, and flavorful toppings that come together in harmony. This cooking method not only saves time and energy but also provides a convenient and delicious way to enjoy pizza in the comfort of your own home.
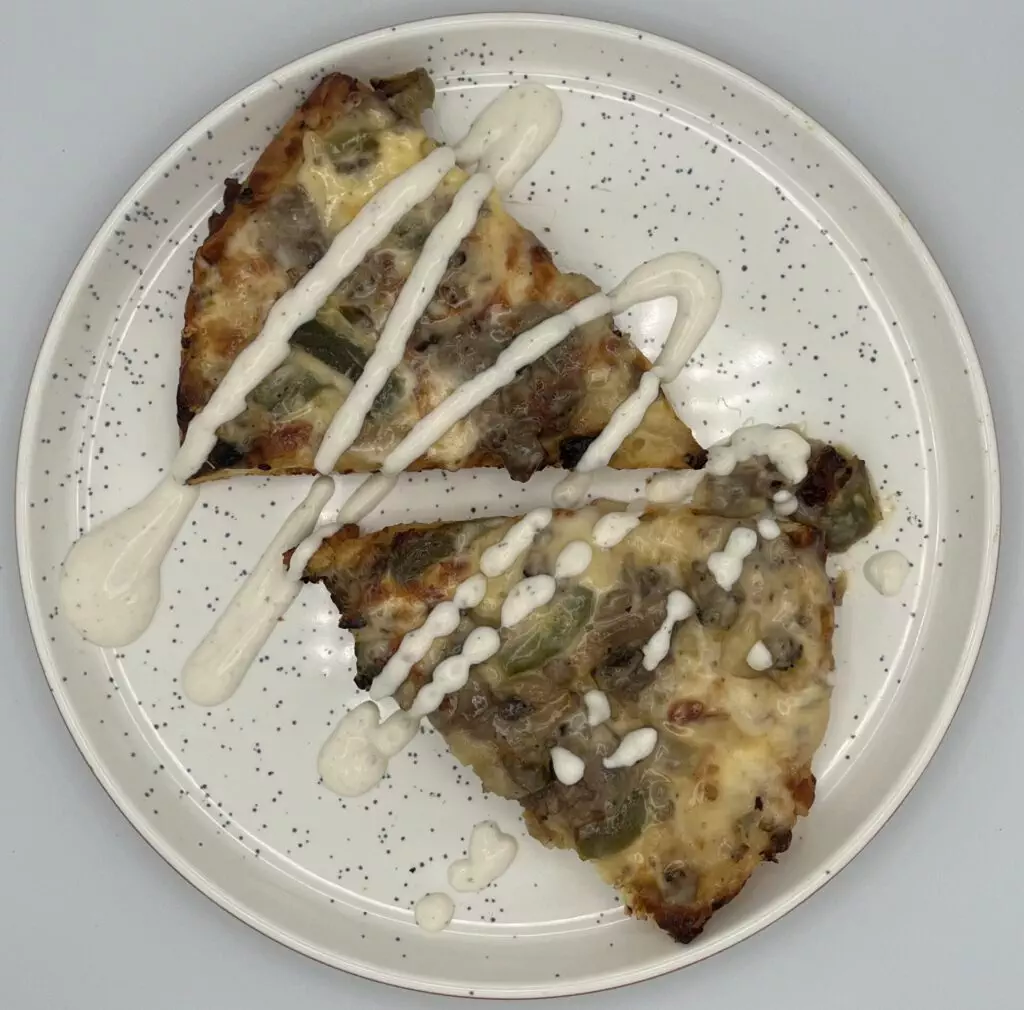
For a complete meal, consider serving your air-fried pizza with a simple mixed green salad, some garlic bread, or a refreshing glass of your favorite beverage. You can also try experimenting with different pizza toppings, sauces (like our very own BBQ sauce recipe), and cheeses to create a variety of tasty combinations.
Step 8: Quick and Easy Cleanup
While the air fryer basket is still hot, clean it using our “no wet hands” method, which only takes 30 seconds. This method is perfect for those who don’t want the hassle of hand washing dishes. Follow the steps outlined in our previous blog post on air fryer cleaning techniques, and you’ll have a spotless basket in no time. You can even clean two baskets at once by using one in each hand.
To start, while the basket is still hot, give one squirt of soap into the dirty basket.

Next, fill the basket with a small amount of water.

Then, swirl/jiggle/slosh the water in the basket until it foams.

After than, pour out the soap foam and briefly rinse the basket in the basket.

Finally, insert the basket back into the air fryer. No need to dry the basket with a towel – residual heat in the air fryer will do the trick!