
Crispy, Soft, Runny
Fried eggs are a breakfast staple for many, but the process of cooking them can sometimes be messy and frustrating. Fear not, for we have the perfect solution for you – a no-mess fried egg recipe that will have you cooking up a delicious, fuss-free breakfast in no time! Say goodbye to burnt edges and messy stovetops, and welcome to the world of perfectly cooked fried eggs without any unnecessary cleanup. Let’s dive into the steps you need to follow to achieve a flawless, no-mess fried egg, with a runny yolk and just the right amount of seasoning.
No-Mess Fried Egg Recipe Highlights:
- No-mess: Learn a simple technique to cook a fried egg without creating a mess on your stovetop or leaving a dirty pan.
- Perfectly cooked: Achieve a deliciously runny yolk and well-cooked egg white, just the way a fried egg should be.
- Time-saving: With minimal cleanup and easy-to-follow steps, this recipe will have you cooking up a tasty breakfast in no time!
No-Mess Fried Egg Ingredients:
- 1 large egg (or however many you’re going to cook)(2 for me!)
- 1 tsp neutral oil (e.g., vegetable oil, canola oil, or avocado oil)
- Salt and pepper, to taste
No-Mess Fried Egg Instructions:
Step 1: Prepare Your Pan Before you begin cooking, make sure your pan is clean and free from any debris or residual oil. A clean pan is essential for achieving a no-mess fried egg, so take a moment to ensure it’s in the best condition possible.
Step 2: Heat Your Pan Place your pan on the stove and heat it over medium heat for a couple of minutes, until it reaches 275°F (125°C). Using a thermometer to measure the temperature will help ensure that your pan is at the ideal heat for cooking your egg without sticking or burning. Once we reach the temperature, turn down the stove. Don’t let your pan get too hot!

Step 3: Add Oil to the Pan Once your pan has reached the desired temperature, drizzle about 1 tsp of neutral oil into it. The oil should spread out quickly and shimmer, indicating that it’s hot enough to cook the egg. Its also important to gently tilt the pan left and right to ensure the oil coats the entire bottom surface.


Step 4: Crack the Egg Now it’s time to crack your egg into the pan. Discard the eggshells, and wash your hands to remove any residue. Be cautious when cracking the egg to avoid any shell fragments from ending up in the pan.

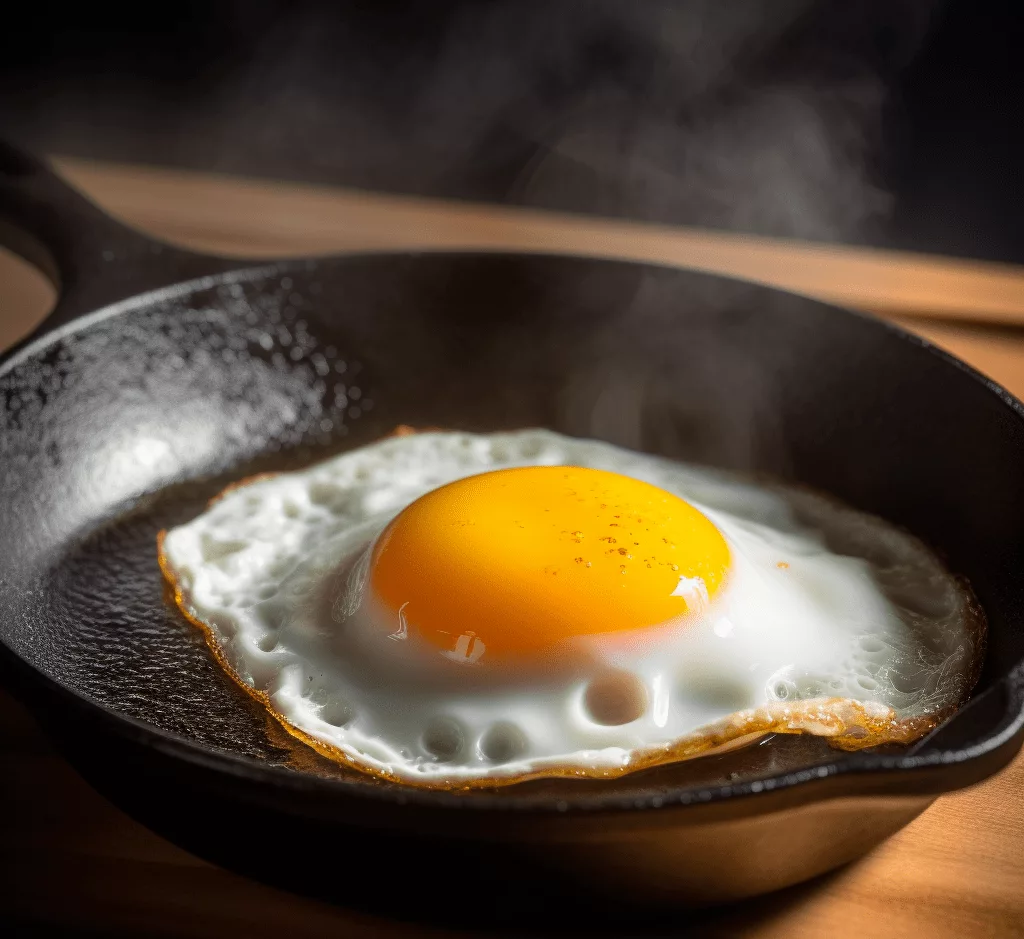
Step 5: Cook the Egg Allow the egg to cook undisturbed for about 1 minute. The egg white should begin to turn opaque and firm up, while the yolk remains runny.

Step 6: Flip the Egg Using a silicone or metal spatula, carefully slide it under the egg and gently flip it over. Be sure to support the yolk to prevent it from breaking during the flipping process. Cook the egg for another 30 seconds, allowing the yolk to remain runny while the egg white continues to firm up.


Step 7: Transfer the Egg to a Plate Once the egg is cooked to your desired level of doneness, use your spatula to carefully transfer it to a plate.

Step 8: Clean the Pan Wipe the pan with a paper towel to clean up any residual oil or egg. This simple step will leave your pan clean and ready for its next use, without the need to wash it in the sink.
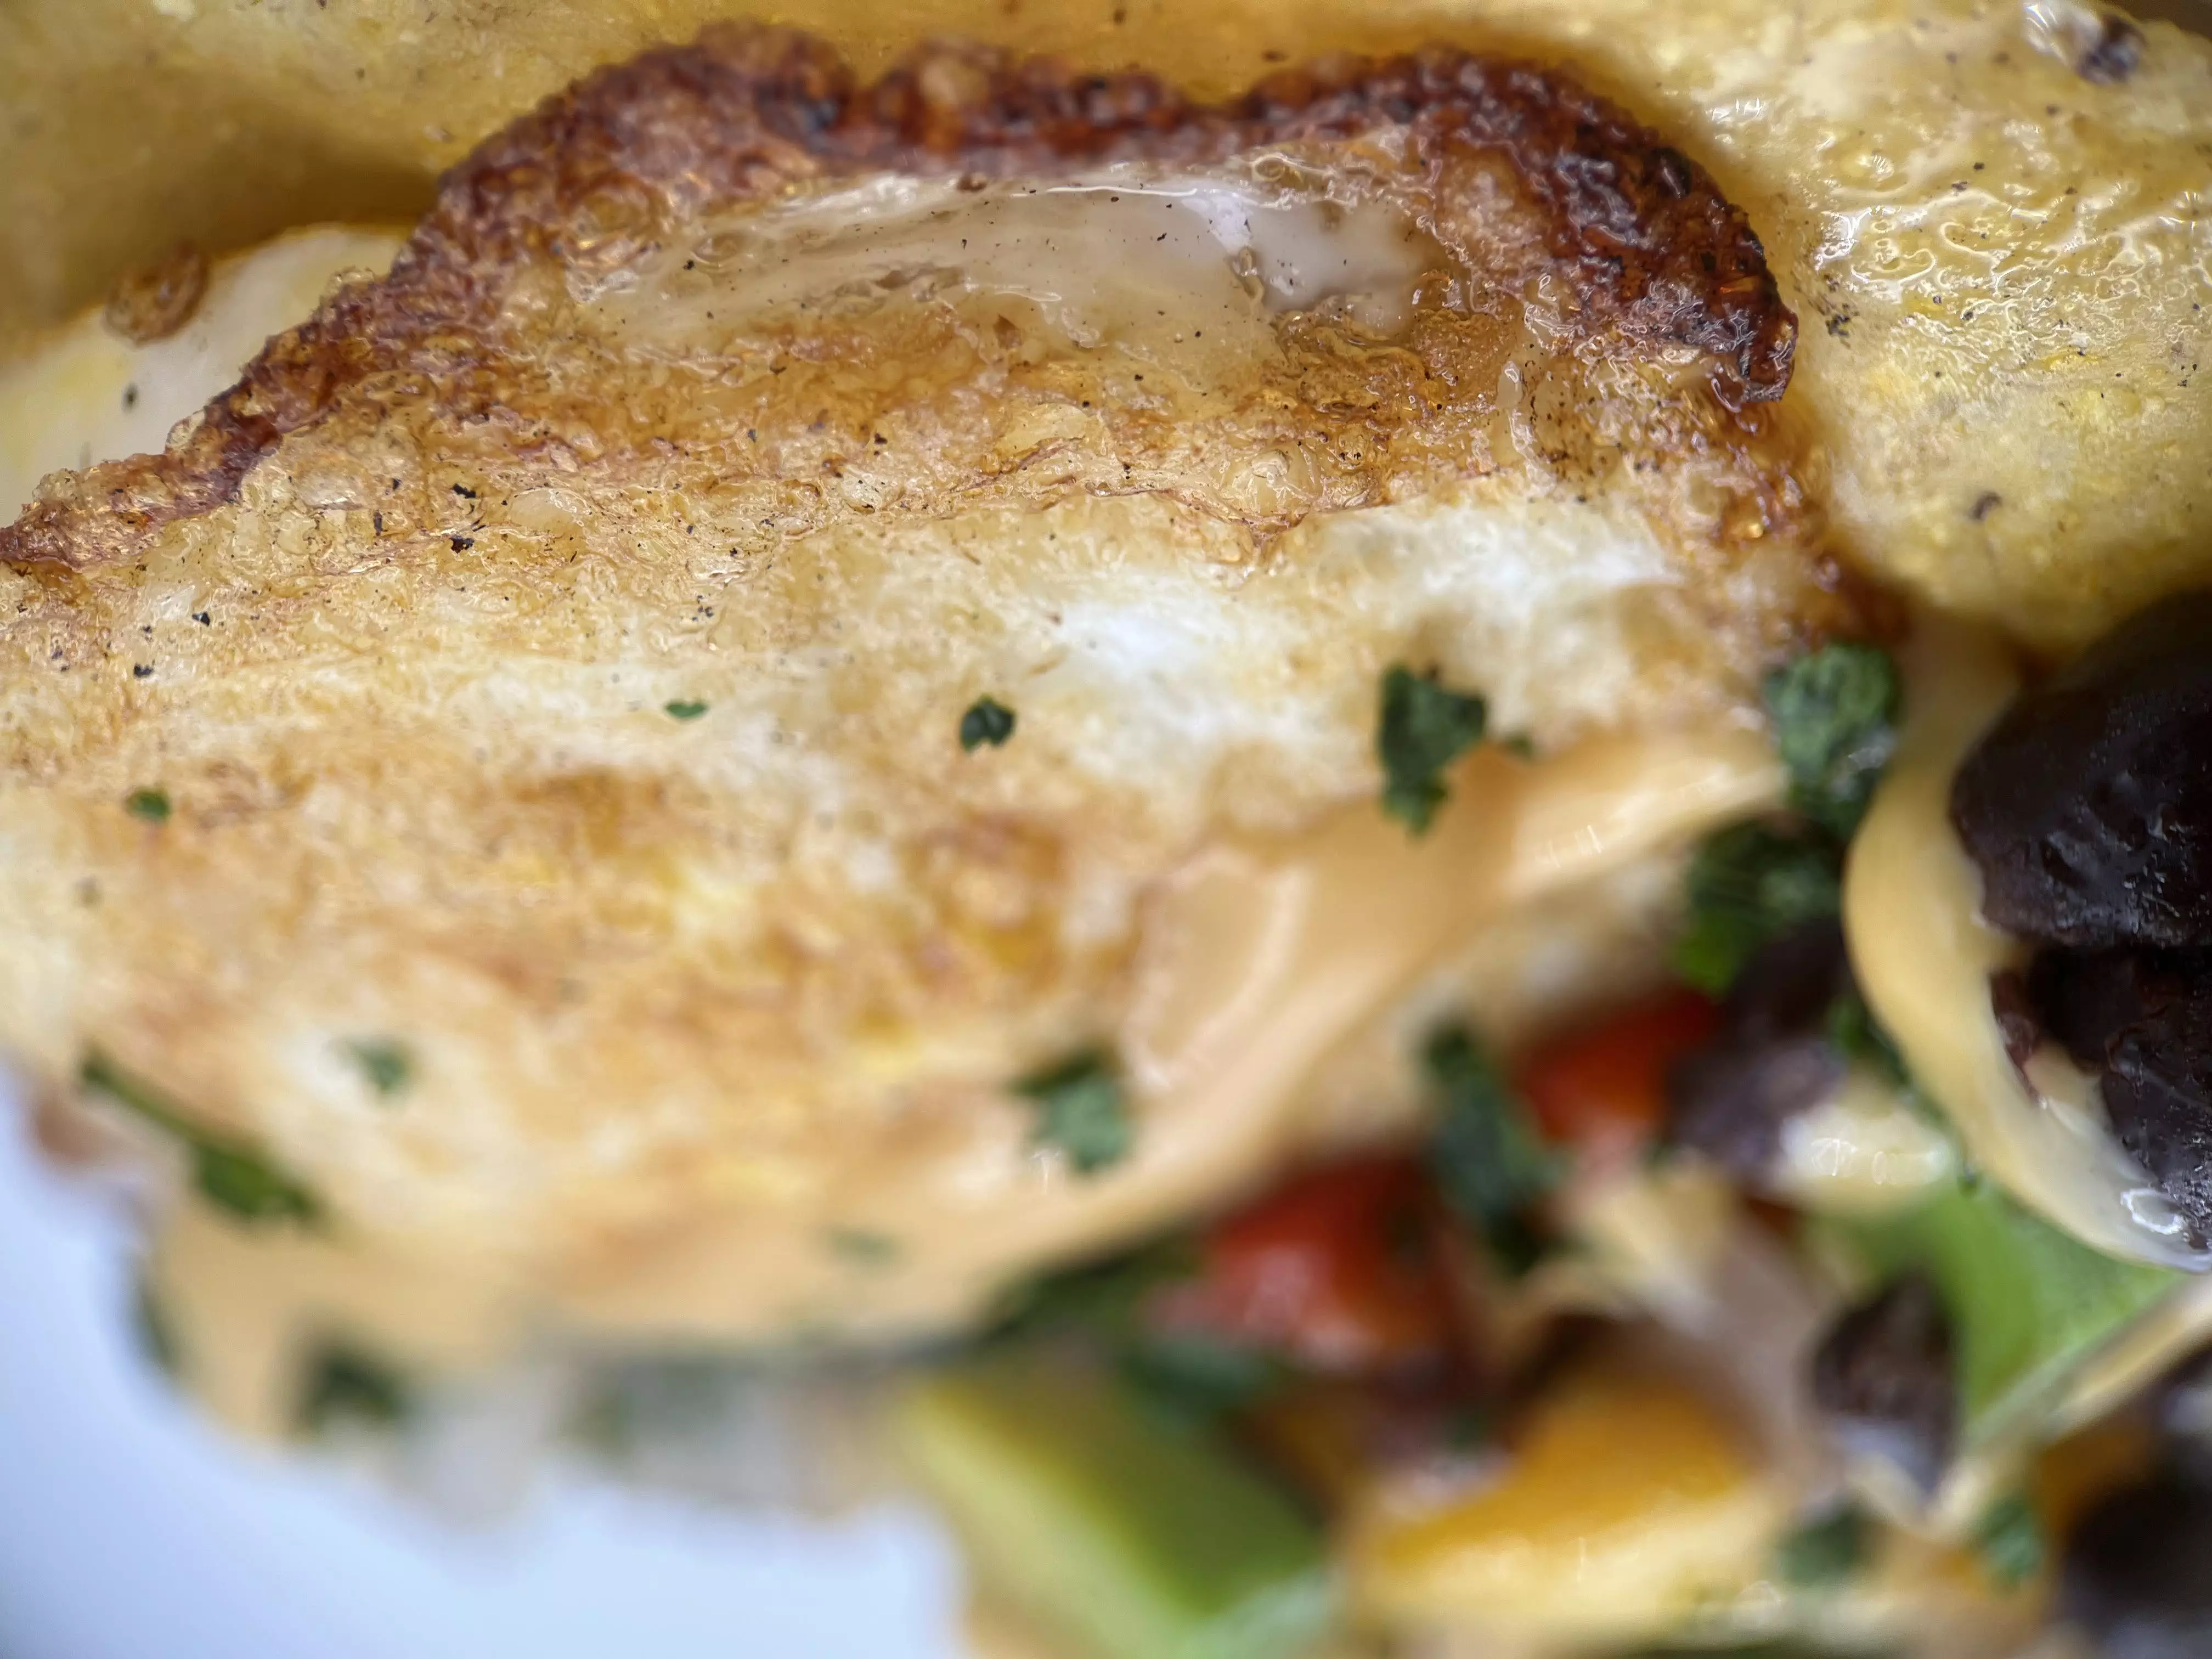
Step 9: Season the Egg Season your fried egg with a tiny pinch of salt and pepper, adjusting the amount to your personal taste. If you’re making a tostada or a sandwich, I recommend a generous helping of SAUCE. Ranch works well for veggies on tostadas. Chilula is good for breakfast tacos OR sandos. Siracha is great for topping a fried egg over a rice bowl.
Step 10: Enjoy Your No-Mess Fried Egg! With your perfectly cooked, no-mess fried egg. It goes great on a pretzel bun sando, or a tostada or ontop of rice!
Pro tip: If you’re trying to take your fried eggs to the next level, check out this video from one of my favorite YouTubers on fried eggs.